If you follow me on Instagram, you know that my family and I love taking trips to Walt Disney World and Disneyland.
It was planned for exactly ten years after my husband and I first went as a newly dating couple – and now, we get to take our kids!
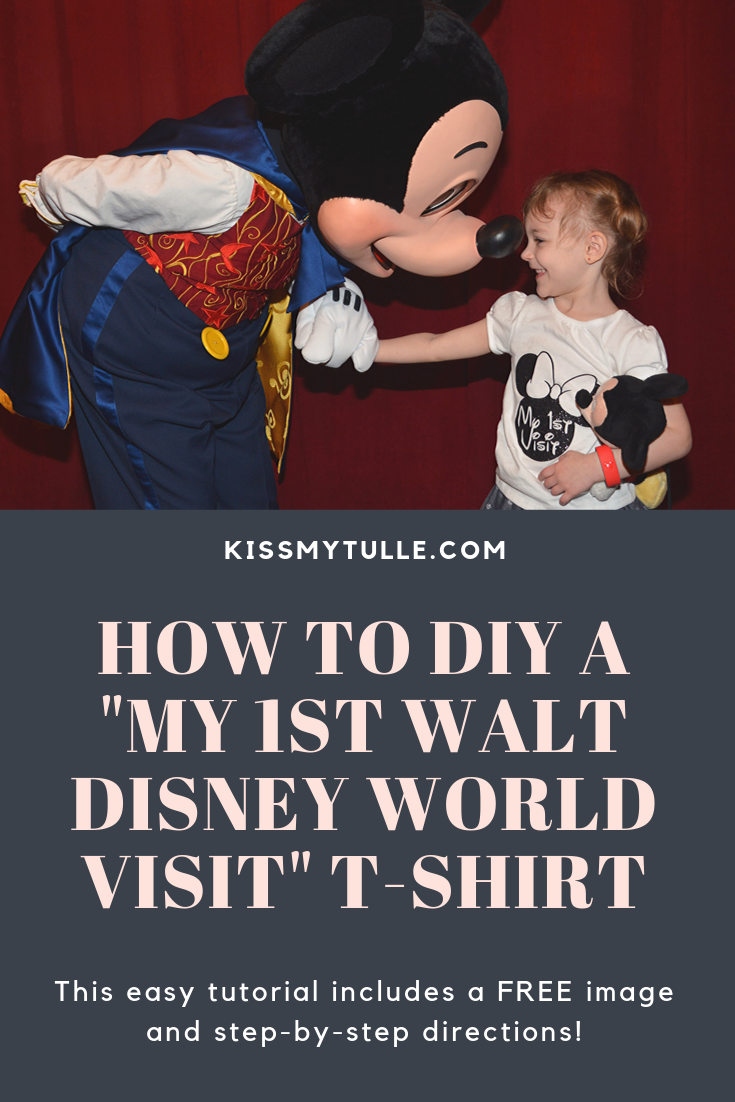
It got me thinking back to our very first trip ever when Finn was 5 months (and didn't much care about anything) but Melanie was 3 and LOOOOVED it.
Her absolute favorite moment was meeting Mickey Mouse!
The Perfect Souvenir: My 1st Visit to Walt Disney World DIY T-Shirt
// I may earn money from the companies mentioned in this post. //
I had a feeling before we left that this would be a huge moment for her so I busted out my trusty Cricut Explore Air and made her a cute “My 1st Visit” T-shirt to wear when she met him.
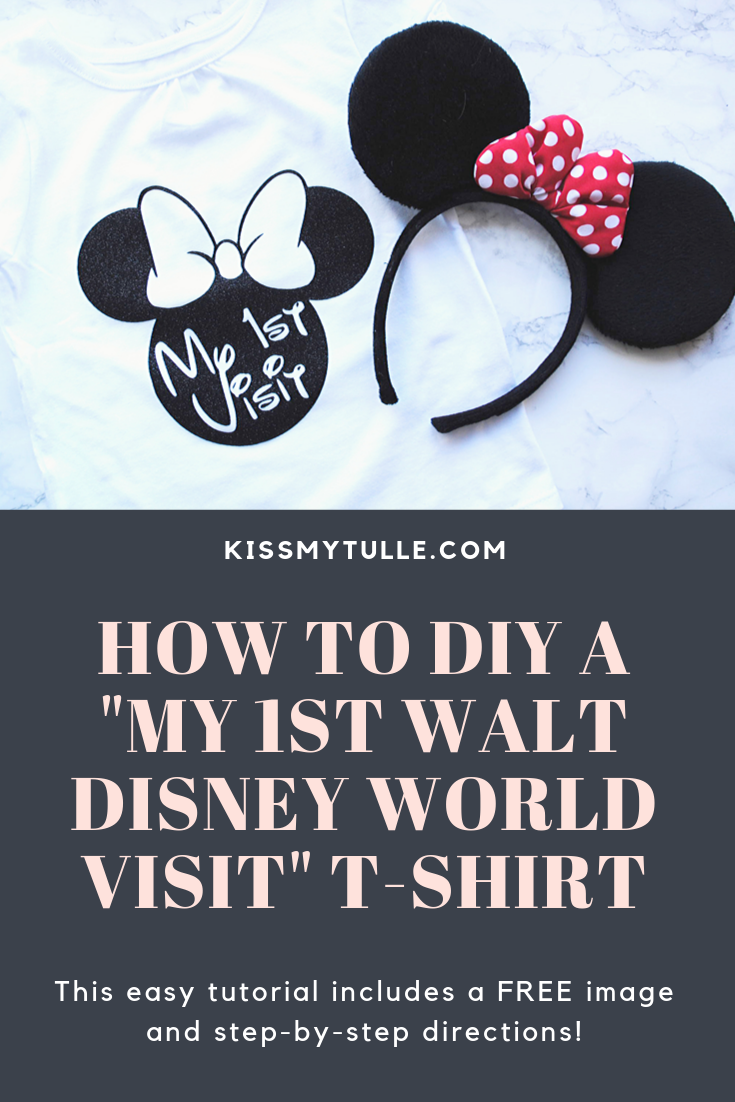
The tee featured an image that I made of a Minnie Mouse silhouette and the words “My 1st Visit” as negative space.
The image was easy to upload into Cricut Design Space and took me less than ten minutes to upload, cut out, and iron-on to the T-shirt.
Want to make your own “My 1st Visit” tee or onesie for your Walt Disney World or Disneyland visit?
Read on to learn how to upload your own images to Cricut!
Supply List:
- Cricut Explore Air
- FREE “My 1st Visit” Graphic
- Plain T-shirt
- Cricut Glitter Iron-on
- EasyPress
- Cricut Mat
- Cricut Trimmer
- Cricut Weeding Tool
Instructions:
Step One:
Create your own image or download the FREE “My 1st Visit” graphic to your computer and then upload it to Cricut Design Space:
Log into Cricut Design Space.
Select “Start a New Project”.
Next, select “Insert Image”, located in the sidebar on the left.
Select “Browse” and choose the image from your computer that you would like to upload into the Cricut Design Space.
Select from the three options offered to indicate what type of image quality best matches the image you just uploaded. For the FREE “My 1st Visit” graphic, choose “Simple Image”. Click “Continue To Step 2”.
In this step, you will be removing all the white space (or negative space) to make cut lines for your Cricut Explore Air to follow.
Basically, this is where you'll click and remove the parts of the graphic that you want the Cricut Explore Air to cut out (and leave the image intact).
This is where you will remove all the white space that you do not want cut.
Use the magic wand to click on the areas that you want the Cricut Explore Air to cut out – after you click on them, there should be a light blue/white square background showing behind them.
Click “Continue To Step 3″.
Big Fat Tip: The checkerboard background indicates the areas that have been removed and will not cut. The solid areas represent the image you will use on the design screen.
Next, you'll be asked to name your file. You also have the option to tag your image, which can help you find it later if you forget the file name. Click “Save Image”.
Now, you'll be returned to the “Upload Images” screen. Your new image will appear in the “Uploaded Images Library”.
Click on the image to add the image to your project.
Big Fat Tip: A green check will appear, indicating it is selected.
Click “Insert Images” to add your uploaded image to the design screen.
Step Two:
Select the Cut option in the Layers tab on the top right.
Step Three:
Turn the knob on your Cricut Explore Air to “Iron-On”.
Big Fat Tip: While just using the “Iron-On” selection on the knob worked for me, others recommend that you choose Custom and then select iron-on glitter within Design Space.
Step Four:
Use the Cricut Trimmer to cut the Cricut Glitter Iron-on to the necessary size and read the directions on the packaging CAREFULLY to figure out how to apply it to the Cricut Mat properly.
It's really, really important to apply the Cricut Glitter Iron-on with the clear liner down on your Cricut Mat – otherwise, your image will be cut backwards.
Step Five:
Load the Cricut Mat into the Cricut Explore Air. Select Mirror Image in the Design Space and then press Go.
Step Six:
Watch the Cricut Explore Air cut out the “My 1st Visit” graphic – it's SO AWESOME!
Step Seven:
Once the cutting is complete, remove the Cricut Glitter Iron-on from the Cricut Mat. Then use the Cricut Weeding Tool to peel the negative space pieces off the “My 1st Visit” graphic.
Step Eight:
Place the “My 1st Visit” graphic on the Plain T-shirt (remember that since you had it cut out as a mirror image, that it will now be placed on the T-shirt with the graphic the right way).
Use an EasyPress to gently press the “My 1st Visit” graphic. Peel off the plastic once you're done pressing and it feels cool to the touch.
Step Nine:
Enjoy!
I just love how easy the Cricut Explore Air makes DIYing fun, custom gear for Disney!
I mean, could you have created that T-shirt in under ten minutes and that easily? I couldn't have and I never would have wanted to with a preschooler and newborn under my feet.
And you don't have to stick to just using my FREE “My 1st Visit” graphic – you can access tons of Disney-themed fonts, graphics, and designs through Cricut Access OR follow my directions and upload your own into the Cricut Design Space.
I really love how easy it was to learn to use the Cricut Explore Air – I feel like I got comfortable designing and uploading images in just a few hours.


Leave a Reply