
So, we're getting to the point where The Boy and I have done enough remodeling in the Master Bathroom and we're trucking right along (isn't it weird how the super boring stuff [like structural] takes forever?) we're tackling the door and window today. Specifically, we're replacing the old ones with newer, prettier, and more energy efficient ones. Here's the oldies:
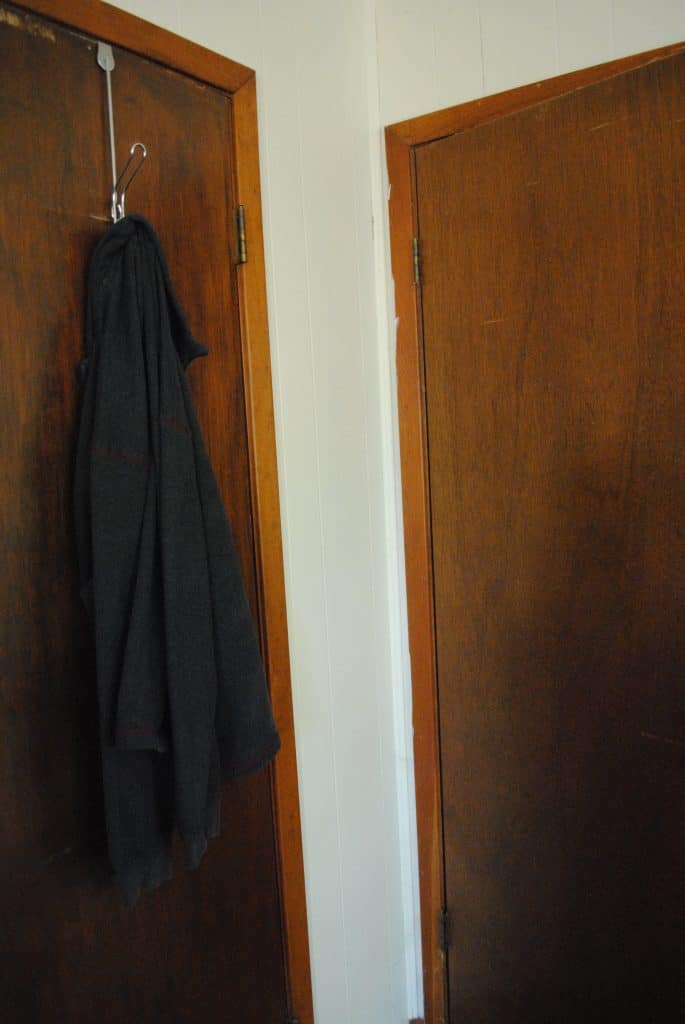

The doors are ugly, poop-brown colored, and hollow with brass hardware. The windows are single-panes, aluminum, and literally falling out of the window openings. Let's start with the window. We're blessed in that this Master Bathroom has one big window that lets in loads of light. And the opening for the window was well-built so replacing the old with new was a cinch.

I removed all the trim for around the window on the inside and unscrewed the couple of screws holding it into place. The Boy removed the window from the outside and popped the new one in. A few screws later and we had this:
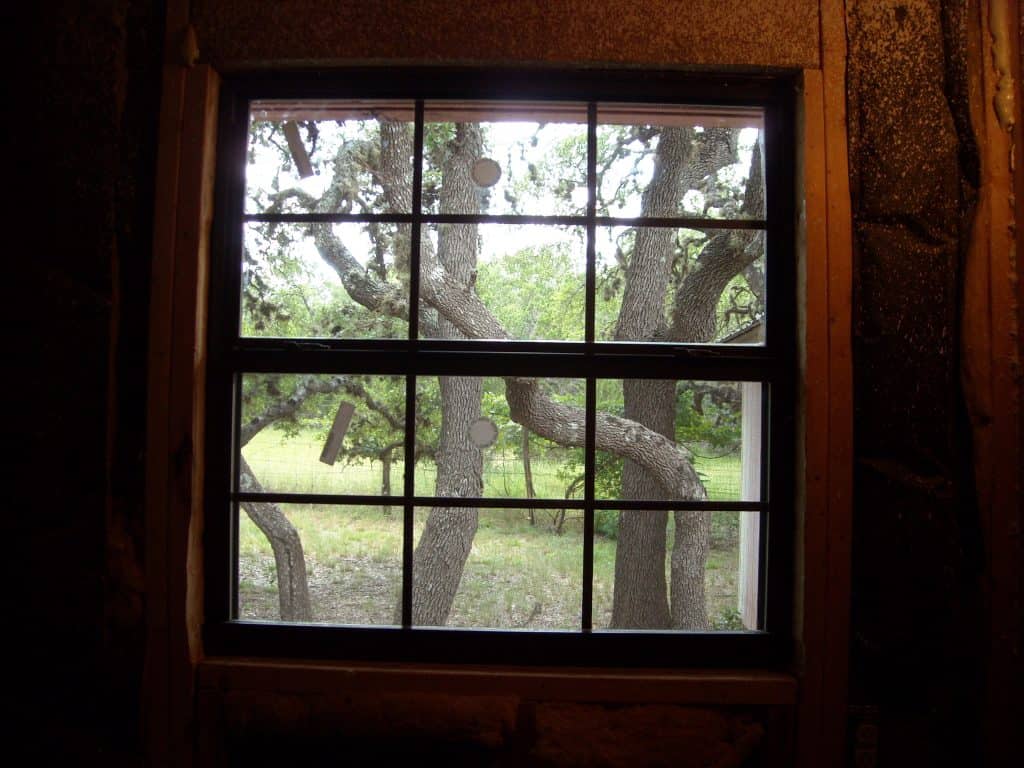
Because the house is settling unevenly, we did have to sand the opening a little bit to allow it to be squared up but this? Was super easy and it's amazing how much nicer the temperature in that room is. Plus, as you can see, the view is lovely.
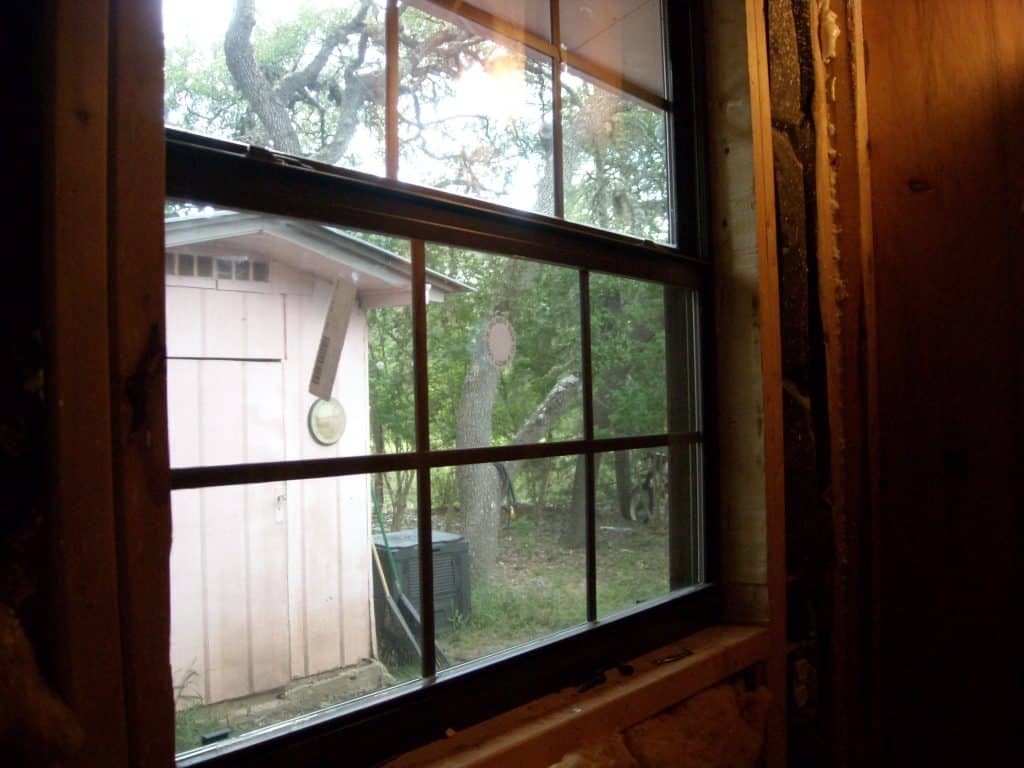

Well, from this angle you can still see the shack where I do laundry (and sometimes, a kitty!) but that shed is SO on the tear down list! Eventually, the view from every angle will be trees, grass, and the ranch next door's cows. Moooo…..
Next up – the door.
I really wanted a house filled with reclaimed 5-slab cottage-style doors but we simply could not round up enough to do our whole house. Instead, I found some very affordable (special order) ones at Home Depot instead. I was able to pick out a pre-primed 5-slab style pre-hung door with oiled brass hinges and pre-drilled door hardware for $64 total (we bought the oiled brass door hardware [off-the-shelf] separately for like, $12). That's it. Just $64 bucks a piece and a two week waiting period. Sold!
After we picked up the door, I started thinking that I'd love to have all the interior doors painted a really pretty color. I toyed with doing a rich cherry red (like the closet doors in the entryway of Sarah's Farmhouse) but The Boy nixed it completely (after looking totally horrified).

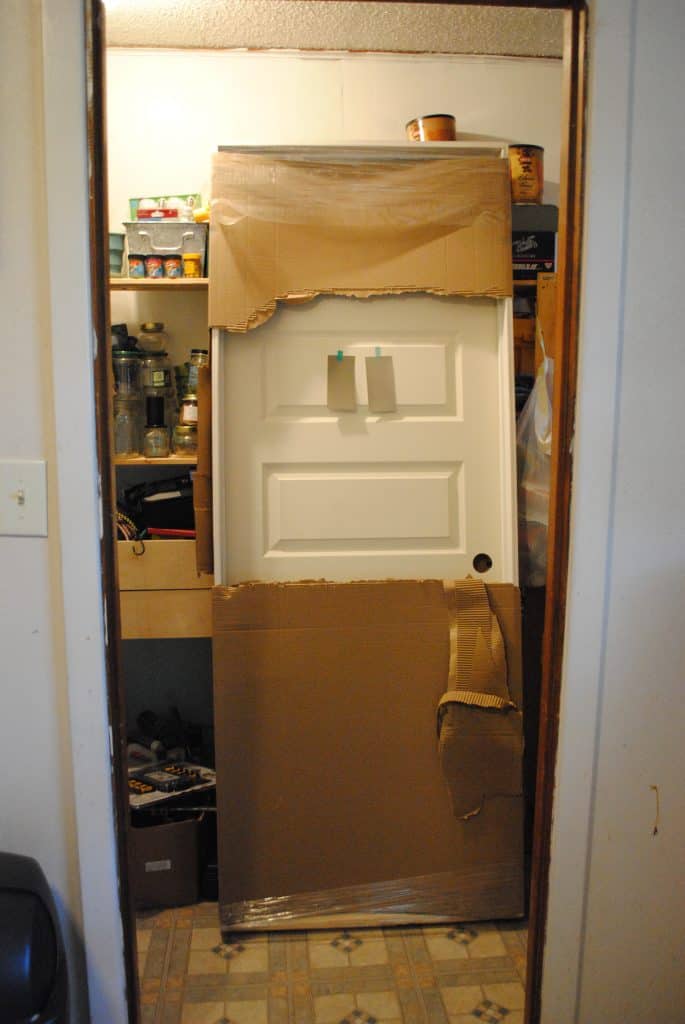
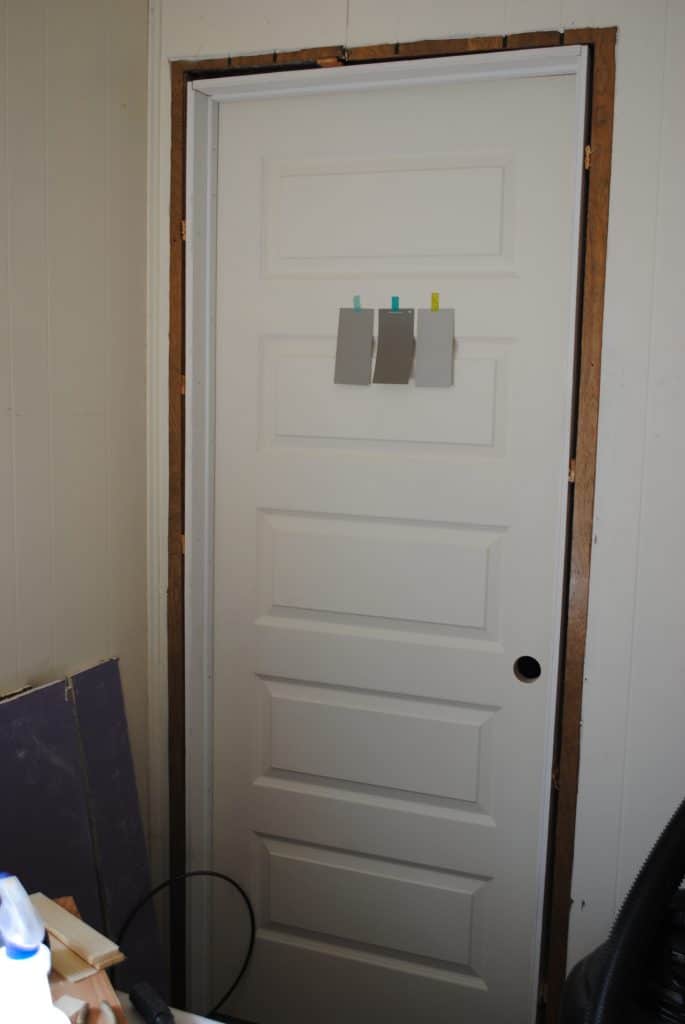
Then I remembered this gorgeous bathroom image I had torn out of an old Cottage Living magazine (sob… how I miss you!) of a house that had all grey doors. YES!!! To see if I liked it, I taped the image on the door with a few Martha Stewart paint swatches and gave myself a couple of weeks to decide which one to go with. In the meantime, The Boy and I decided to actually install the door + jam.

This is a pretty simple process too. Mostly, it's being aware of the details and communicating with each other – since installing this right meant one person was outside the Master Bathroom maneuvering the door while the other person was inside directing things. Basically, one person holds the door jam in place while the other person uses a level on the door itself to figure out when it's actually level. DO NOT use the jam to try and level the whole door. In fact, once your door is level – the jam will probably be really uneven and wonky. Don't worry because all that gets covered up by trim later.


Next, shove a few shims around the entire door jam and nail the jam into place. Once that's done, cut off the excess from the shims. The last step is to lightly spray around the entire door jam (and we did the exterior around the window at the same time) with a door/window spray foam. It's really important to use the right kind of spray foam to do this job – the kind in the red can is for exterior insulation and it foams up to twice the size of the door/window kind. The kind in the blue can is formulated to only expand 50% so that doors and windows can open and close properly. I grew up in a house that used the red kind and it was a total bitch to close doors. Don't be that person… just use a blue can.

Once that was all done, we removed the door from the jam and I painted it a lovely grey color – Martha Stewart Bedford Gray (but color-matched in Olympic Low-VOC paint for interior air quality) in a Satin Finish. I have to give props here – The Boy's good friend's daughter actually ended up picking our door color. I was overwhelmed with options so I handed her the paint chips and the magazine picture and let her chose. Me thinks she did a KILLER job:

Alrighty then – the Master Bathroom has a working door and window! Huzzah! Have any of you replaced your windows and doors? What products did you go with? How was it? Would you paint your interior doors a cherry red color? Fire away ‘cuz I'm dyin' to know!


Leave a Reply