Hey, y'all! I'm Cris.
  • Say Hello
  • Check Me Out
  • Work With Me
  • Find Out More
  • Shop My Favorites
  • Home
  • About Me
  • Contact Me
  • Sponsorships
  • Privacy Policy

Kiss My Tulle

Real Life in a Perfectionist World

  • Capsule Wardrobes
    • Fashion
    • Beauty
  • Travel
    • Disney + Marvel
    • Marvel Bounding
  • DIY + Tutorials
    • Home Improvement + Design
    • Food + Cooking
    • Health + Fitness
    • Holidays
  • Pregnancy + Parenting
    • Mommy
    • Daddy
    • First Trimester
    • Second Trimester
    • Third Trimester
    • Baby
    • Toddler
    • Kid
  • Weddings
    • Our $5,000 Wedding
    • Ceremony
    • Reception
    • Honeymoon

Baby, DIY + Tutorials, Fashion, Holidays, Home + Life, Kid, Pregnancy + Parenting, Toddler · February 20, 2018

DIY: No Sew Rosette Headband in Red, White, and Blue

[su_note note_color=”#FFFFFF”]// This is an old post from a now defunct blog of mine but it's perfect for those of you looking for a quickie red, white, and blue craft. I may earn money or products from the companies mentioned in this post. This helps me support my family at no extra cost to you. //[/su_note]

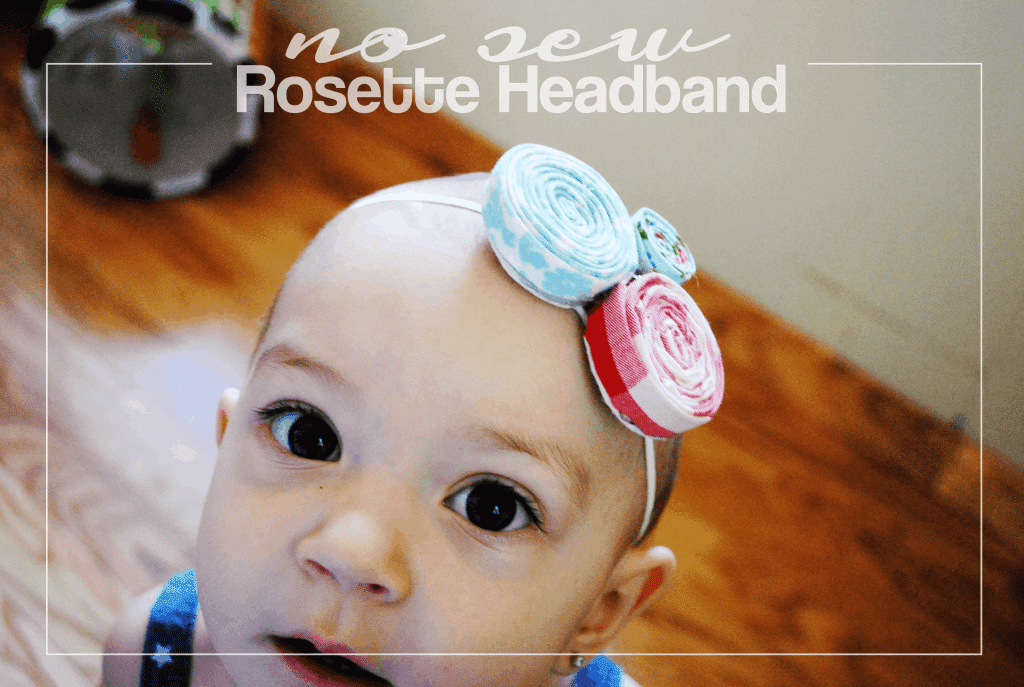
We've been following the USA Men's Team in the World Cup (let's all take a moment and sob at the outcome of yesterday's heartbreaker) and enjoying how cute it is to see Melanie clap while we chant “USA! USA! USA!”. Between yesterday's match and the upcoming Fourth of July holiday, I was inspired to whip up a little something to show off Melanie's patriotic side – a no sew rosette headband in red, white, and blue!

No Sew Rosette Headband in Red, White, and Blue #Olympics #DIY #nosew #easy #baby #USA

Here's what you'll need:

  • Fabric Scraps (long and narrow works best)
  • Scissors
  • Glue Gun + Glue Sticks
  • Felt Scraps
  • Various Circular Sized Objects
  • Sharpie
  • Thin Elastic, Headband, or Clip

No Sew Rosette Headband in Red, White, and Blue #Olympics #DIY #nosew #easy #baby #USA

Here's how it breaks down:

No Sew Rosette Headband in Red, White, and Blue #Olympics #DIY #nosew #easy #baby #USA

Step One: Select your fabric scraps. The longer the scrap, the bigger the rosette. Also, you'll want them to be about 1″ – 1 1/2″ wide (I eyeballed mine but feel free to measure and trim yours down).

Step Two: Fold (and iron, if you wish) the sides of the fabric inwards (so one stacks on top of the other).

Step Three: Using the glue gun, dot the end of the strip and start rolling it inwards on itself. The dot of glue will help secure the rosette (in case you accidentally let go). Use a dot of glue every couple of rolls to help secure everything.

Step Four: At the end of the strip, use another dot of hot glue to secure the end. Voila! Your first rosette is nearly done.

Step Five: Use one of your circular objects and a pen to trace a circle about the same size as the finished rosette (a little smaller is ideal) on to your felt scrap. Using the scissors, cut the circle out.

Step Six: Using the glue gun, cover the back of the rosette with glue and then attach the felt circle. Press gently to secure and use the scissors to trim off any excess.

Step Seven: Repeat steps two through six with your remaining fabric scraps.

Step Eight: Using the glue gun, secure the rosettes to each other by gluing the connecting sides.

Step Nine: Secure the rosettes to your preferred hair piece. I used a thin elastic. Here's how:

  • Cut the thin elastic to the desired length (remember to trim it a little shorter because you want it to strech).
  • Using the glue gun, glue each end of the elastic on to the center back of the rosettes.
  • Cut a small rectangle from your felt scrap and glue it on top of the glued elatic ends to create a cover piece. Press gently to secure.

Step Ten: Enjoy!

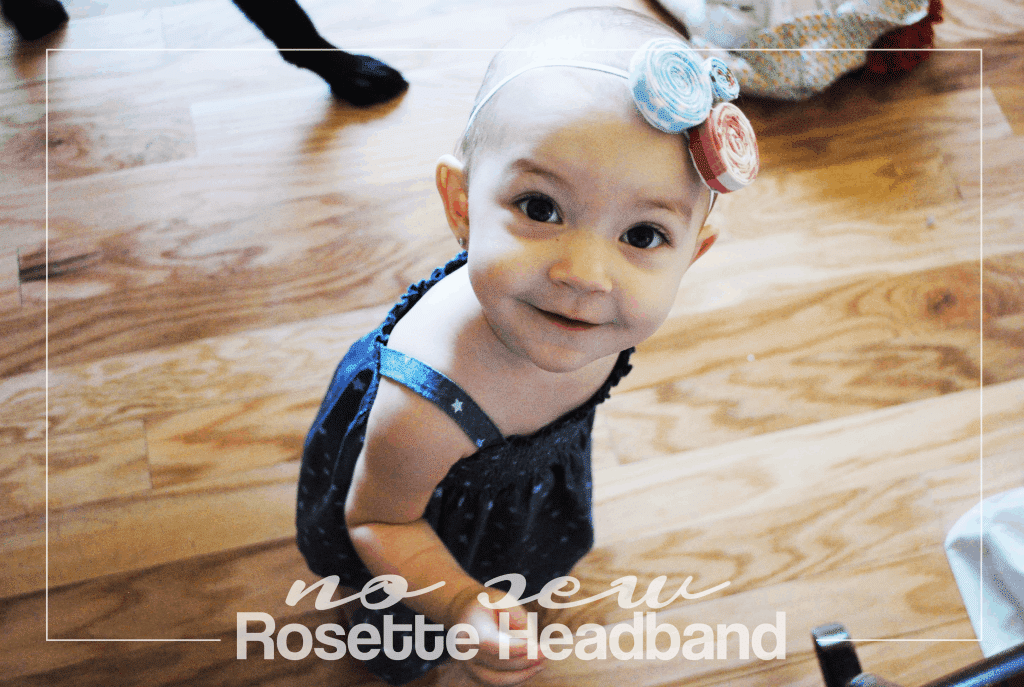
Melanie looks so cute in it and liked it so much that she kept it on for a whole 15 minutes! #score

No Sew Rosette Headband in Red, White, and Blue #Olympics #DIY #nosew #easy #baby #USA

What colors would you use for your no sew rosette headband?

Sharing is caring!

  • Share
  • Email
  • Print

Posted In: Baby, DIY + Tutorials, Fashion, Holidays, Home + Life, Kid, Pregnancy + Parenting, Toddler

You’ll Also Love

Marvel Mondays: Ant-Man Bounding
Classic and Comfortable Thanksgiving Outfits For Moms
Teaching Kids the Value of Love on Valentine’s Day

Leave a Reply Cancel reply

Your email address will not be published. Required fields are marked *

Recipe Rating


This site uses Akismet to reduce spam. Learn how your comment data is processed.

Next Post >

Marvel Mondays: Shuri Bounding

I'm Cris. I live in Alaska with my husband, two kids, and two cats. I love sleeping, Disney, Marvel, and fries.

Kiss My Tulle is a participant in the Amazon Services LLC Associates Program, an affiliate advertising program designed to provide a means for sites to earn advertising fees by advertising and linking to Amazon.com.

Web Stories

Work With Me

  • Sponsorships
  • Contact Me
  • Find Out More
  • Press
  • Privacy Policy

Shop My Favorites

  • Travel Essentials
  • Capsule Wardrobes
  • Home Decor Finds
  • Pregnancy Must Haves
  • DIY Tools

hey, y'all!

I'm Cris. Kiss My Tulle is filled with humor, down-to-earth advice, true parenting stories that are equal parts funny and horrifying, and some swearing while tackling real life in a perfectionist world. Stick around!

Disney + Travel

  • Travel
  • Disney + Marvel
  • Marvel Bounding
  • Honeymoon

Being A Mom

  • DIY + Tutorials
  • Pregnancy + Parenting
  • Capsule Wardrobes
  • Food + Cooking
  • Home + Life
  • Home
  • About Me
  • Contact Me
  • Sponsorships
  • Privacy Policy

Copyright © 2025 Kiss My Tulle · Theme by 17th Avenue