
// this post is sponsored by Cricut, a company that I FREAKING LOVE. I got paid to post about this product but all thoughts and opinions are my own. //
Ah, the wedding night! For many, it's a chance to unwind, gossip, and… well, you know!
Everything You Need For Your Wedding Night With This Married AF Tote DIY!
For those of you hoping to make your wedding night a little more special, I suggest being sure to pack a separate, smaller tote with all the wedding night “necessities” (either on its own or tucked into your luggage).
That way, when the time comes, you can just grab it and get down to business.
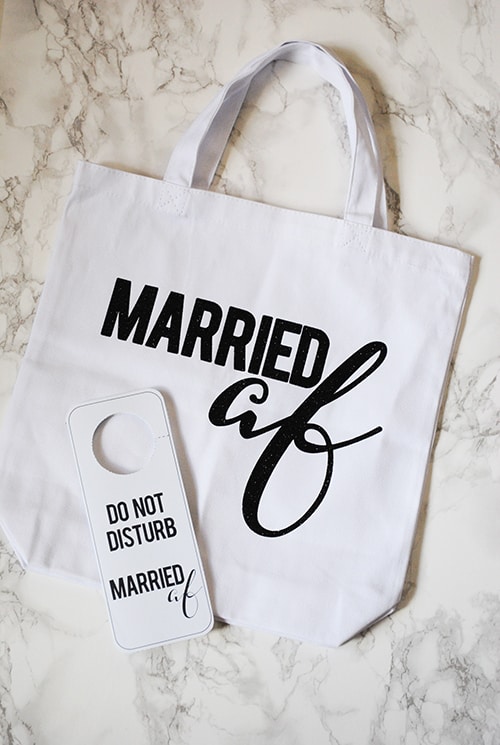
To help you out, I've created this fun “Married AF” tote and filled it with some bits I think make for a fun wedding night!
Seriously, there's everything you need for your wedding night with this Married AF tote DIY (plus, a bonus wedding night DIY at the end of the post)!

Supply List:
- Cricut Explore Air
- FREE “Married AF” Graphic
- Tote
- Cricut Glitter Iron-on
- Iron
- Cricut Mat
- Cricut Cutter
- Cricut Weeding Tool
- Bottled Water
- Mini Champagne
- Paper Straws
- Snacks

Instructions:
Step One:
Download the free “Married AF” graphic to your computer onto your computer and then upload it to Cricut Design Space.
Step Two:
Select the Cut option in the Layers tab on the top right.
Step Three:
Turn the knob on your Cricut Explore Air to “Iron-On”.
Big Fat Tip: While just using the “Iron-On” selection on the knob worked for me, others recommend that you choose Custom and then select iron-on glitter within Design Space.
Step Four:
Cut the Glitter Iron-On to the necessary size and read the direction on the packaging CAREFULLY to figure out how to apply it to the Cricut Mat properly.
It's really, really important to apply the material fabric-side down on your mat.
Step Five:
Load the Cricut Mat into the Cricut Explore Air.
Select Mirror Image in the Design Space and then press Go.
Step Six:
Watch the Cricut Explore Air cut out the “Married AF” graphic – it's SO AWESOME!
Step Seven:
Once the cutting is complete, remove the iron-on from the Cricut Mat.
Then use the Cricut Weeding Tool to peel the negative space pieces off the “Married AF” graphic.
Step Eight:
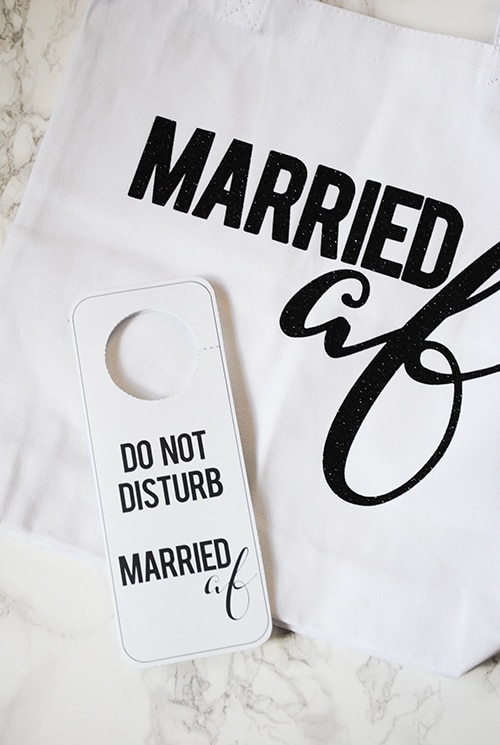
Place the “Married AF” graphic on the tote (remember that since you had it cut out as a mirror image, that it will now be placed on the tote with the graphic the right way).
Use an iron to gently press the “Married AF” graphic. Peel off the plastic once you're done ironing.
Step Nine:
Fill your tote with some snacks, water, mini champagne, and whatever other fun bits you want for the wedding night.
Step Ten:
Enjoy!

Isn't it so cool?!?!
I just love how easy the Cricut Explore Air makes DIYing the wedding of your dreams because they believe that “It’s Your Story, Make It Personal”.
I mean, could you have created that “Married AF” graphic as an iron-on in that short of time and with no hassle? Not me.
As someone who made their $5,000 wedding look more expensive then it was, I know that the key to making a budget wedding feel amazing is all in the personalization.
And after the wedding?
Imagine what you can do with it around your house!
Make some chalkboard labels for your pantry, some vinyl house numbers, or cute magnets of your wedding photos for the fridge!
I have to say, the first time I used my Cricut Explore Air, I was so surprised by the wide variety of products that worked with it.
What will you make with yours?
BONUS “MARRIED AF” DIY
Still interested in getting your DIY on? Here's a fun little bonus project from the folks at Canon!
It's the perfect addition to any wedding night tote – a “Do Not Disturb Married AF” door hanger! So fun, right?
And, with your awesome Canon printer, it's a breeze to make. Here's how:
Supply List:
- “Do Not Disturb Married AF” Door Hanger Graphic
- Cardstock
- Scissors
- Double Sided Tape
Instructions:
Step One:
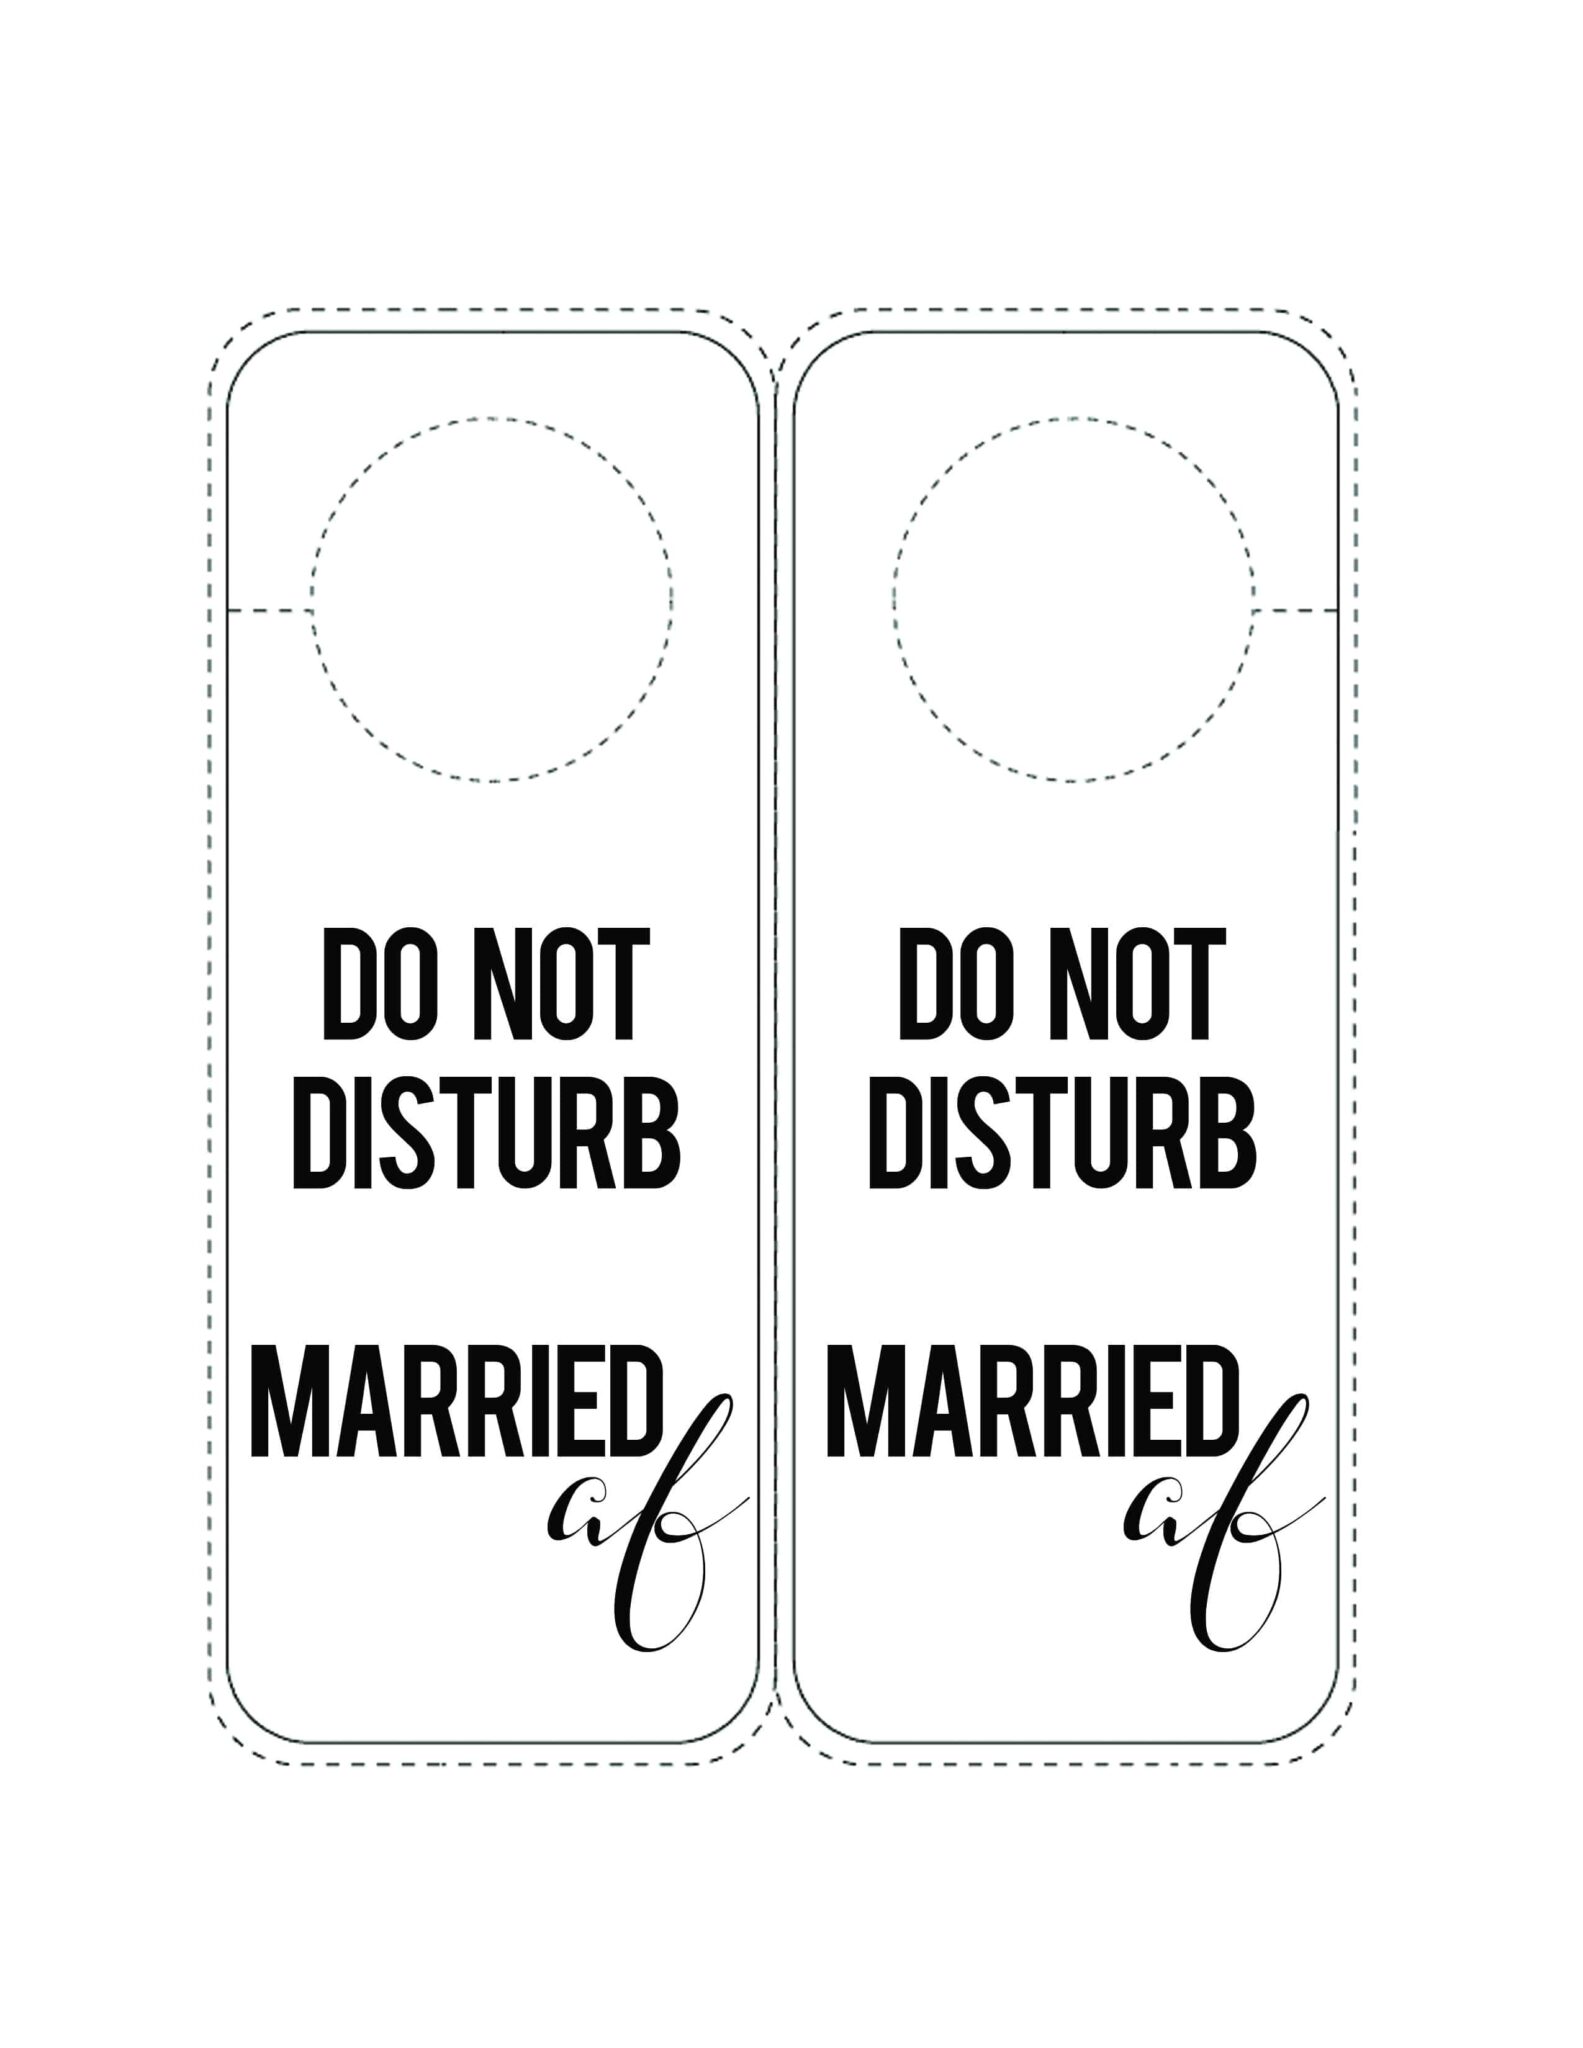
Download the “Do Not Disturb Married AF” door hanger graphic.
Step Two:
Use your to print out the “Do Not Disturb Married AF” door hanger graphic on to cardstock.
Step Three:
Use scissors to cut out the door hanger along the dotted lines.
Step Four:
Fold the door hanger in half along the solid line and use double sided tape to adhere both the sides together.
Step Five:
Enjoy!


Leave a Reply