
Previously, on “Holy Crap Is Our House Ugly“, we decided to remodel our Master Bathroom, created an inspirational mood board, and gutted the Master Bathroom.
And, after discovering that there was a HUGE GAPING HOLE in our floor (plus rotted floor joists), we realized that this job was going to be bigger than we had originally planned on.
Master Bathroom: Floors Joists and SubFloor and Ceilings… Oh My!
Which brings us to today's post – all about all the crap we had to do to get the structural stuff in place so we could start the rebuilding process.
Up first? Le Ceiling – here's what we were dealing with:
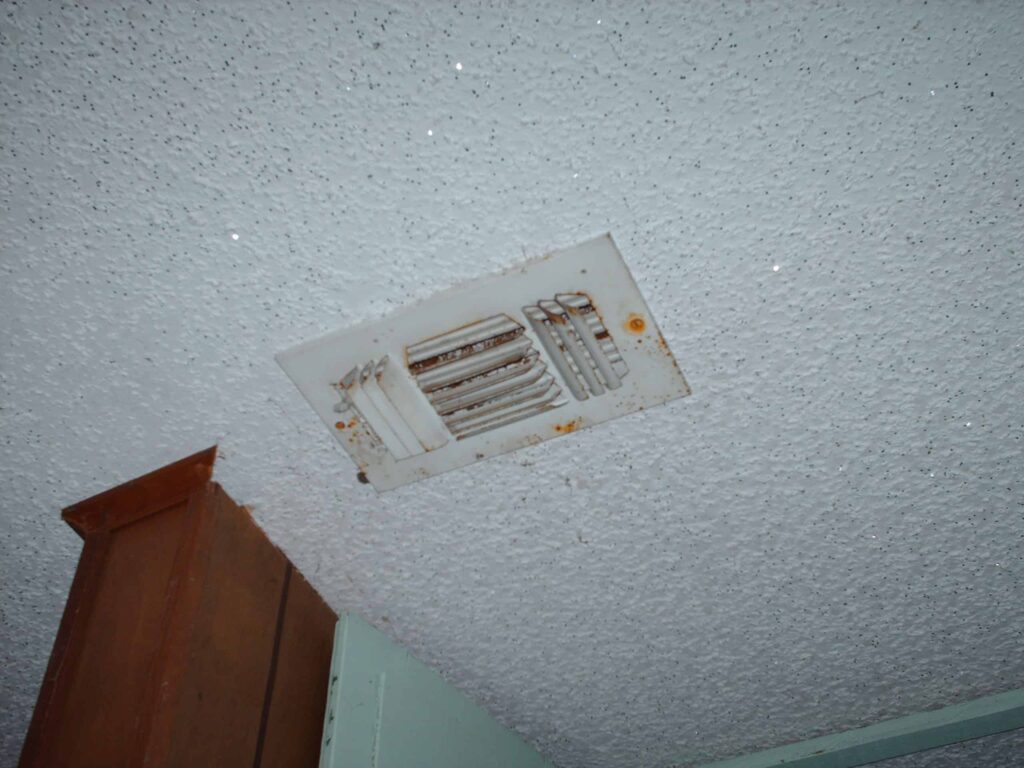
That's right, ladies and gentlemen. That is a circa 1960's popcorn-textured ceiling WITH GLITTER! One of my first jobs in this remodel was to scrap all that crap off the ceiling.
I used a large putty knife and scraped all the popcorn off the ceiling. It took, like, 15 minutes total (the room is only 5'x7′ so I barely had to move).
Next, we demo'd the Master Bathroom and ended up with a GIANT HOLE in the ceiling because the idiots who built this thing decided that it would be a great idea to build the ceiling around the shower stall.
So when we tore out the shower, we took half the ceiling with it. Ouch!
So up went The Boy on a ladder (with a bit o' help from yours truly) with a piece of new drywall (we actually used a scrap of moisture-resistant drywall board from a friend's remodel) and patched it right up.
Next came the first bit of design fun! Whee!
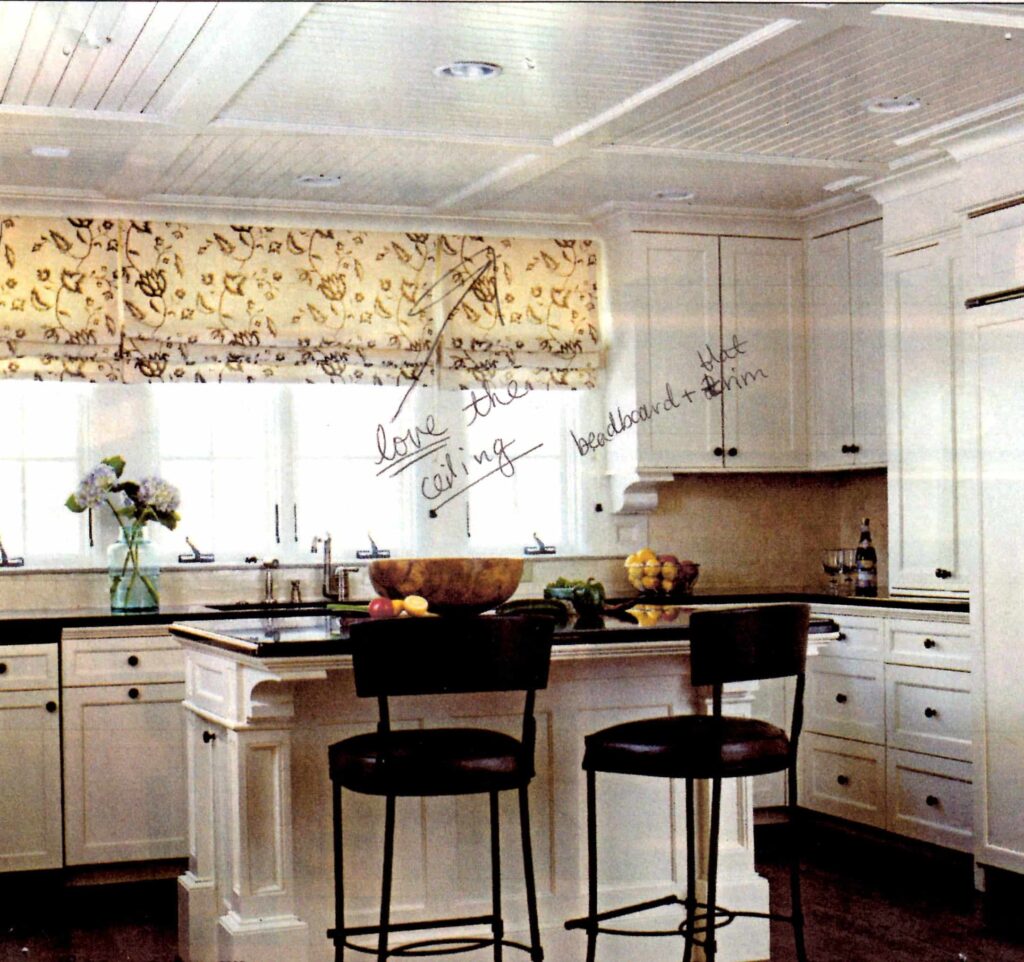
Image Courtesy of: Cottage Living
See that ceiling? LOVE IT! We decided to do that style of ceiling through the entire house.
And (because we are cheap) we would do it with wood paneling and 1″x6″ planks of wood. Here's how it all went down:
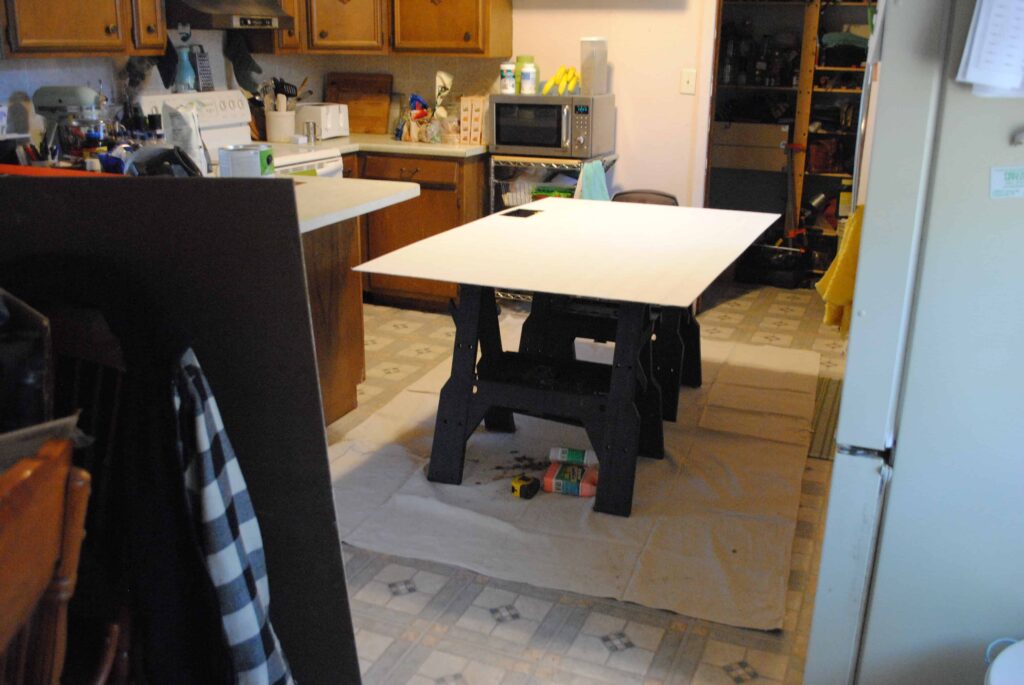
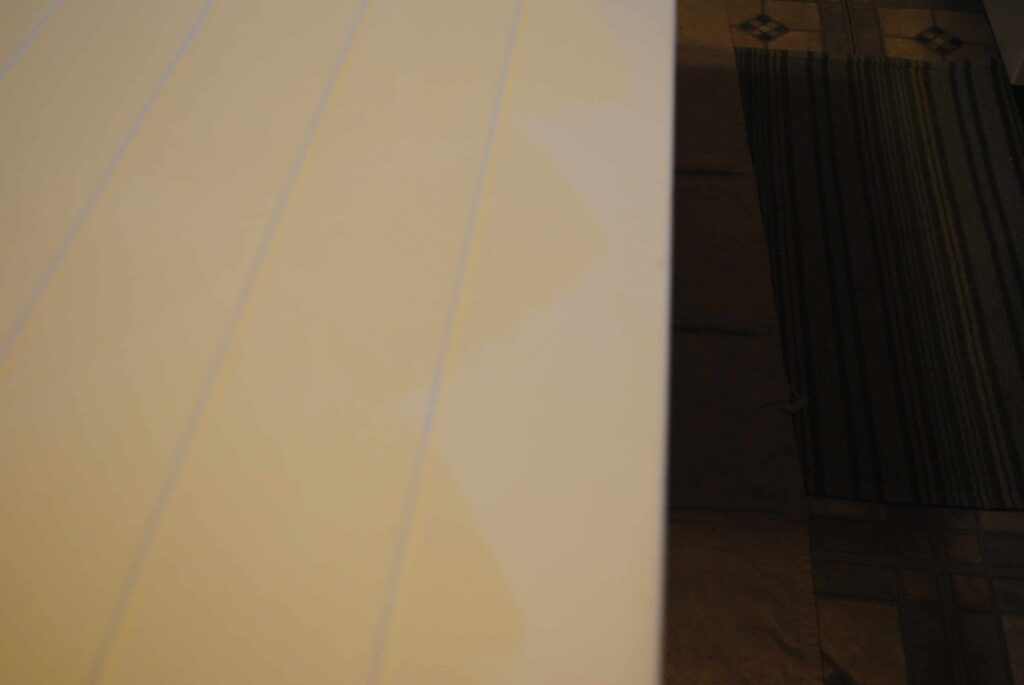
Not the greatest pictures but you get the idea. I painted in my kitchen with the lengths of paneling set up on sawhorses.
I painted the paneling using Olympic paint in a flat finish from Lowe's (but color matched to Martha Stewart's Colonial White).
Little Note: We ***coughcough{wemeaningI}coughcough*** decided to go with all low- to no-VOC paints through the whole house to reduce interior air pollution and allergens.
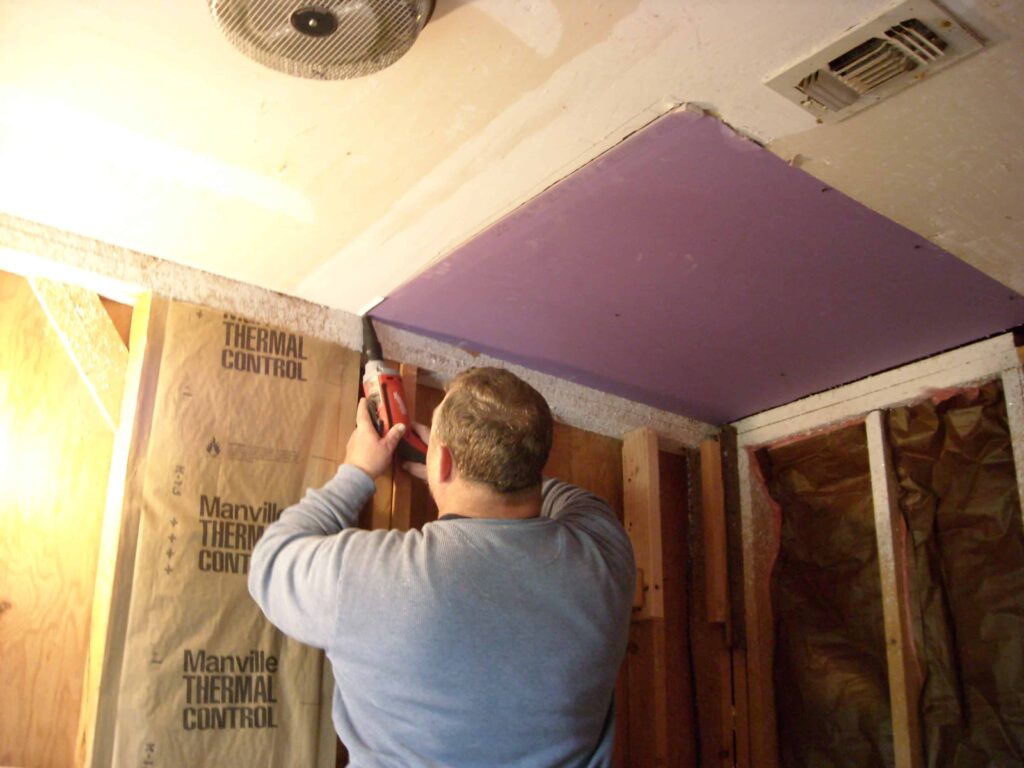
This was pretty easy because the paneling was already primed. After that, came the cutting and hanging.
The Boy measured and cut (using a jigsaw because we didn't have a tablesaw) and I helped with the hanging portion of the evening.
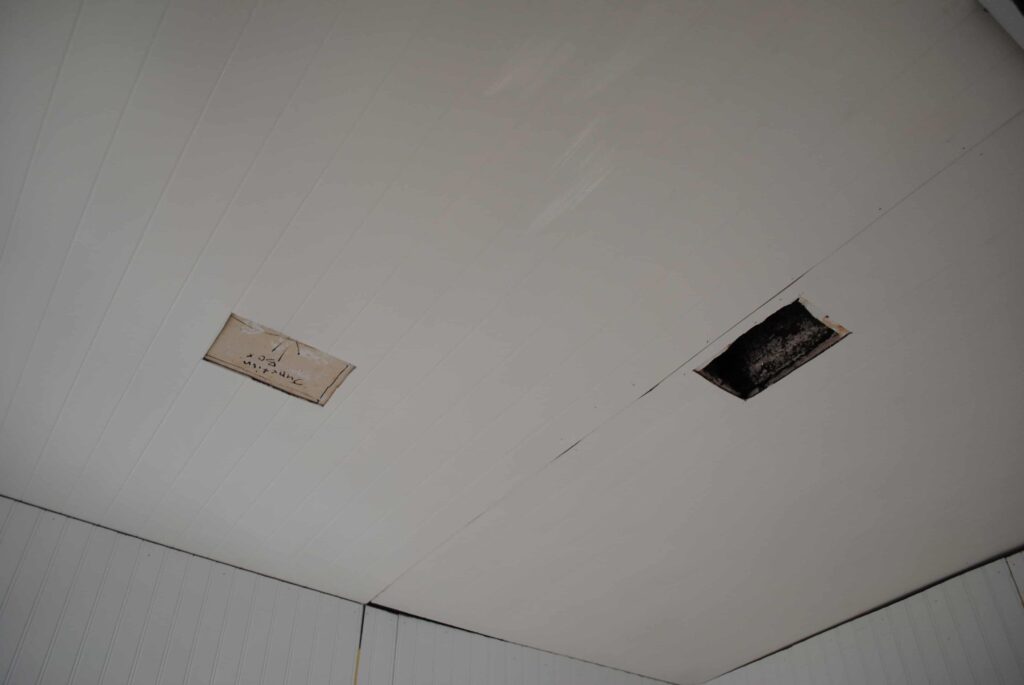
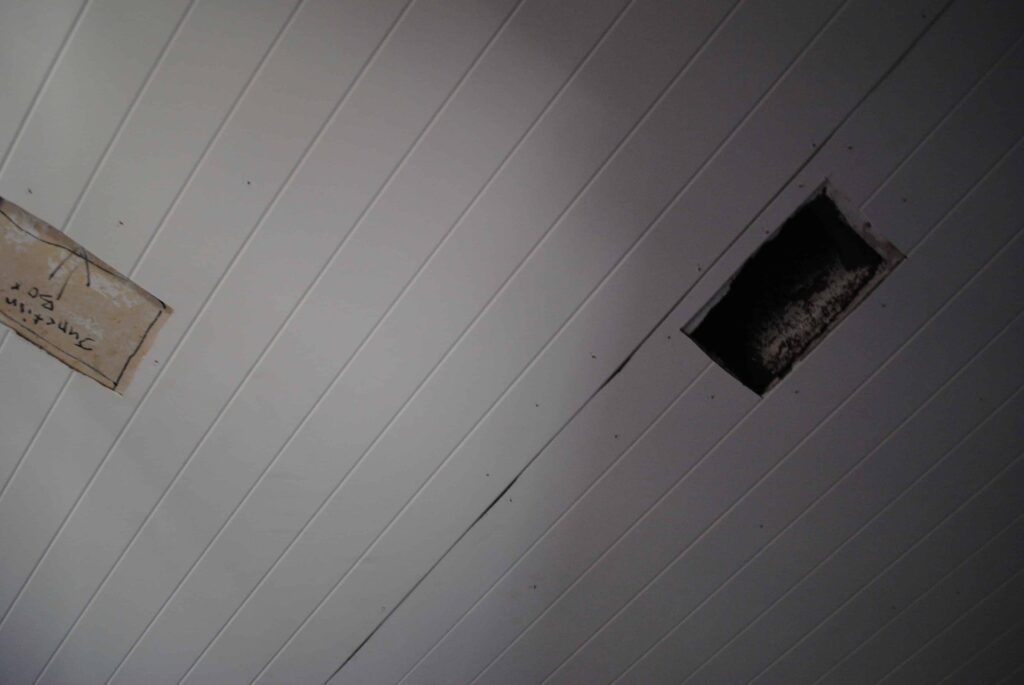
The Boy made sure to cut holes for the HVAC vent and the future light/venting system (I mentioned that the old Master Bathroom didn't have one of those, right?
This house is in dry, hot, HUMID Texas and had NO VENTING IN THE BATHROOM!). To put them up, we used paneling adhesive on the back and then used some finishing nails to secure. Next came the rafters:
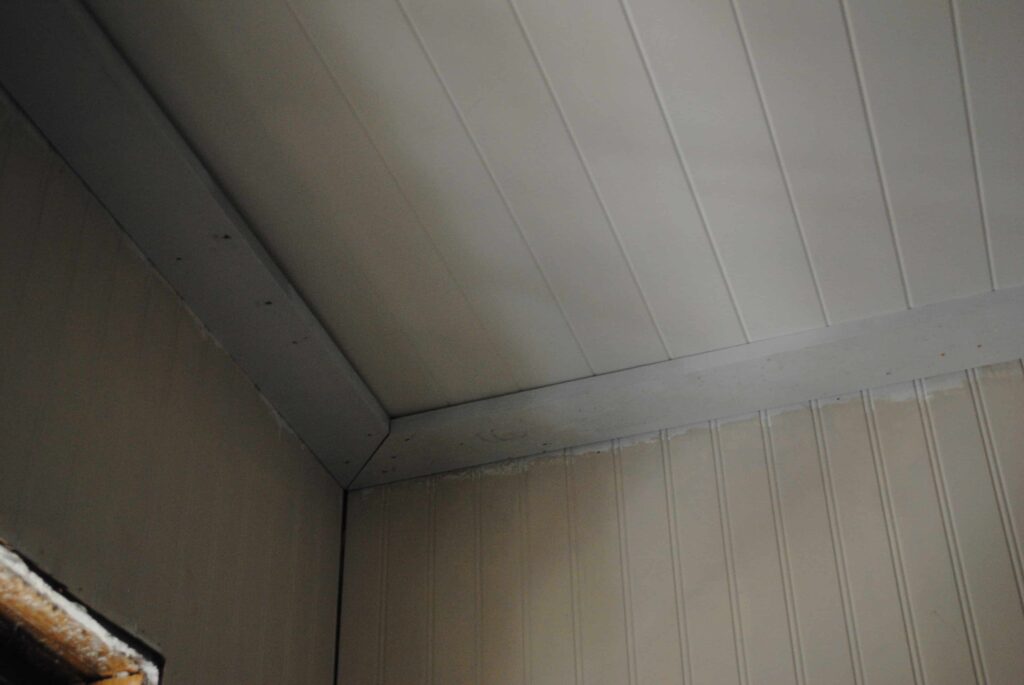
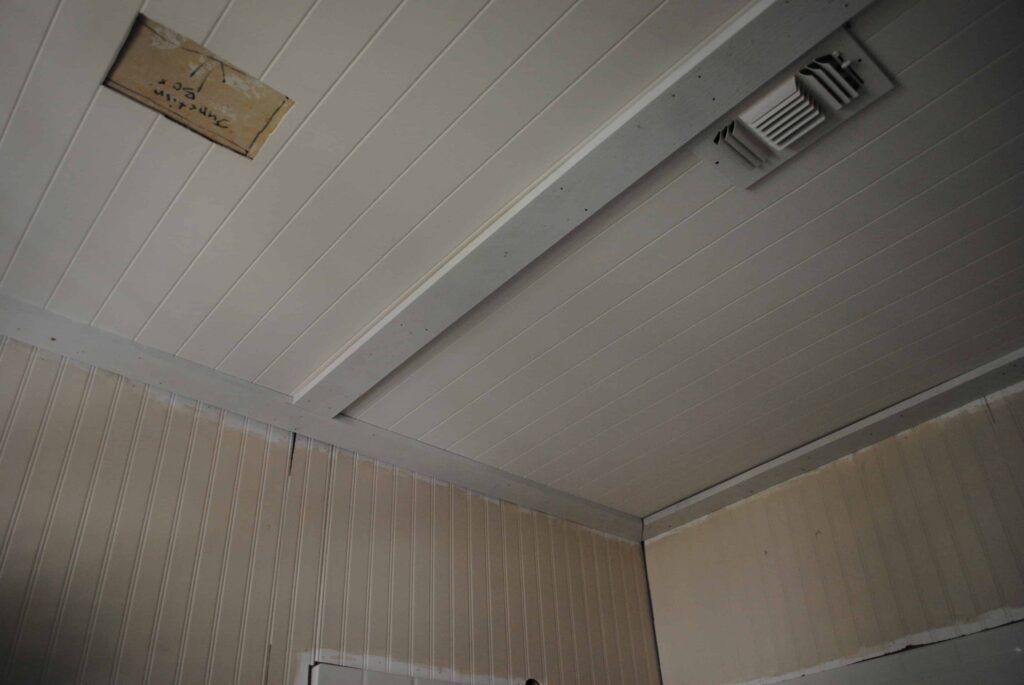
Cute, right? So that's ceilings checked off our huuuge To-Do List.
Up next? Fixin' the GIANT HOLE IN THE FLOOR (angry capitals because I'm still SO PISSED OFF about it!).

After I swept all that crap into the GIANT HOLE carefully cleaned all the rubble out of the Master Bathroom, The Boy cut away the damaged subfloor.
Then, he crawled under the house and used some new wood to fix the floor joists.
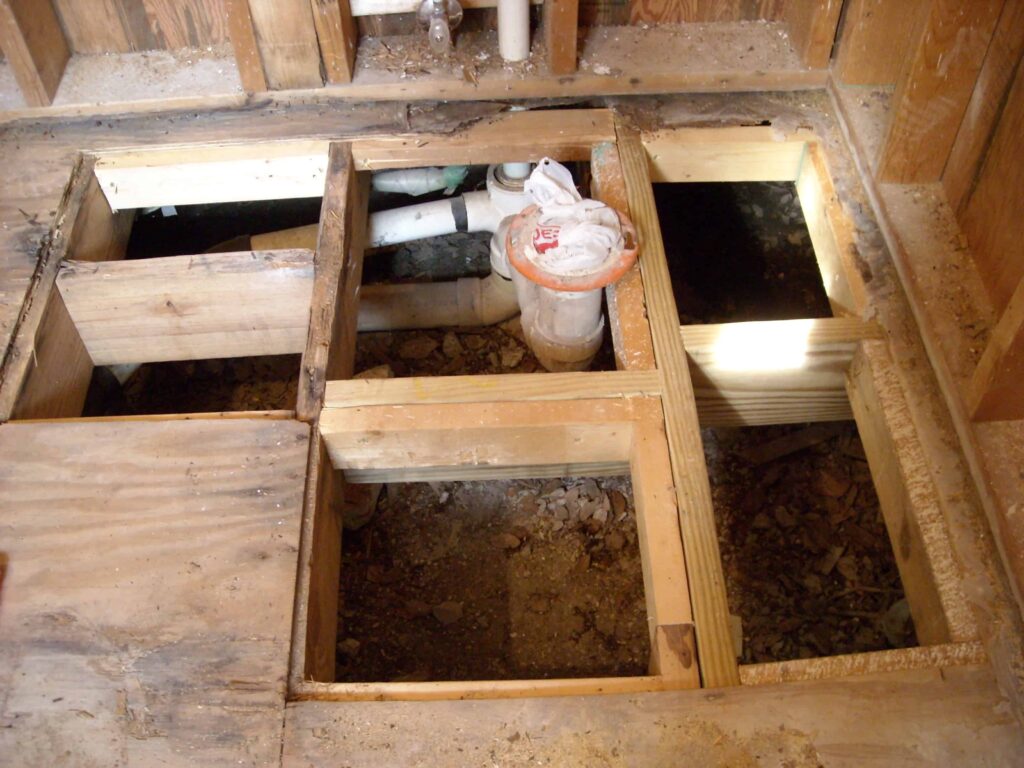

Basically, he attached new pieces of wood to the old, not-rotten joists. I just made that sound so easy but really, it was a pain in the butt.
You definitely want at least two strong people working on this (should you do it yourself) – one to drill through the wood (which is super hard/strong) and one to hold the board in place.
That little (but oh so exhausting) project left us with this:
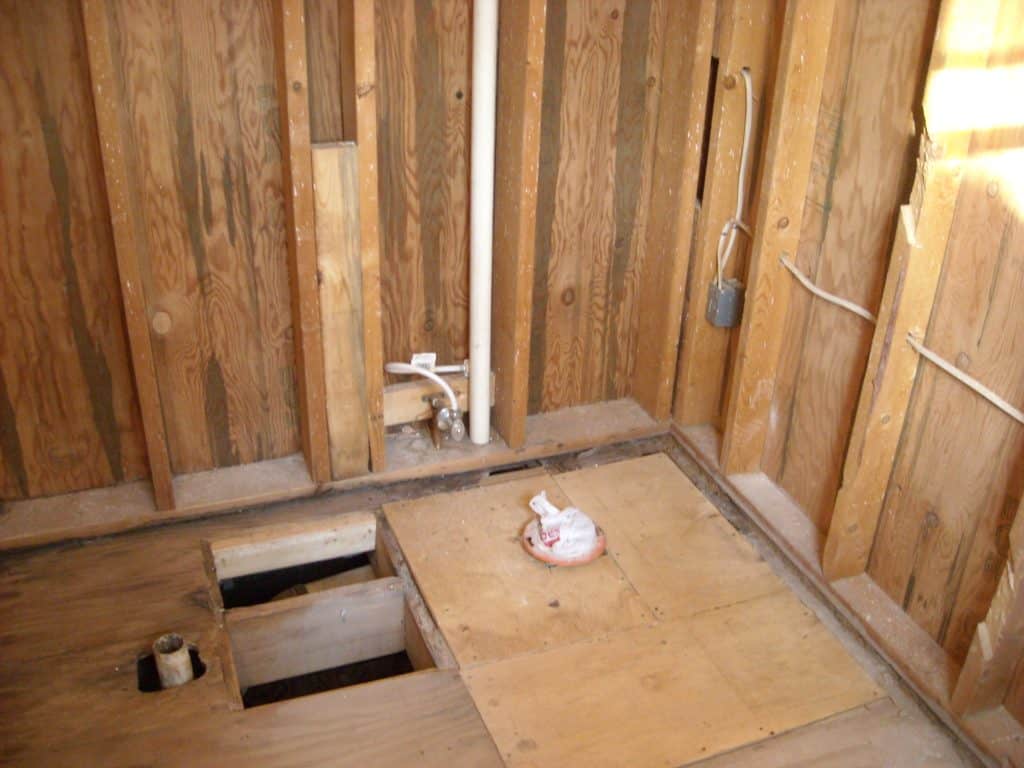
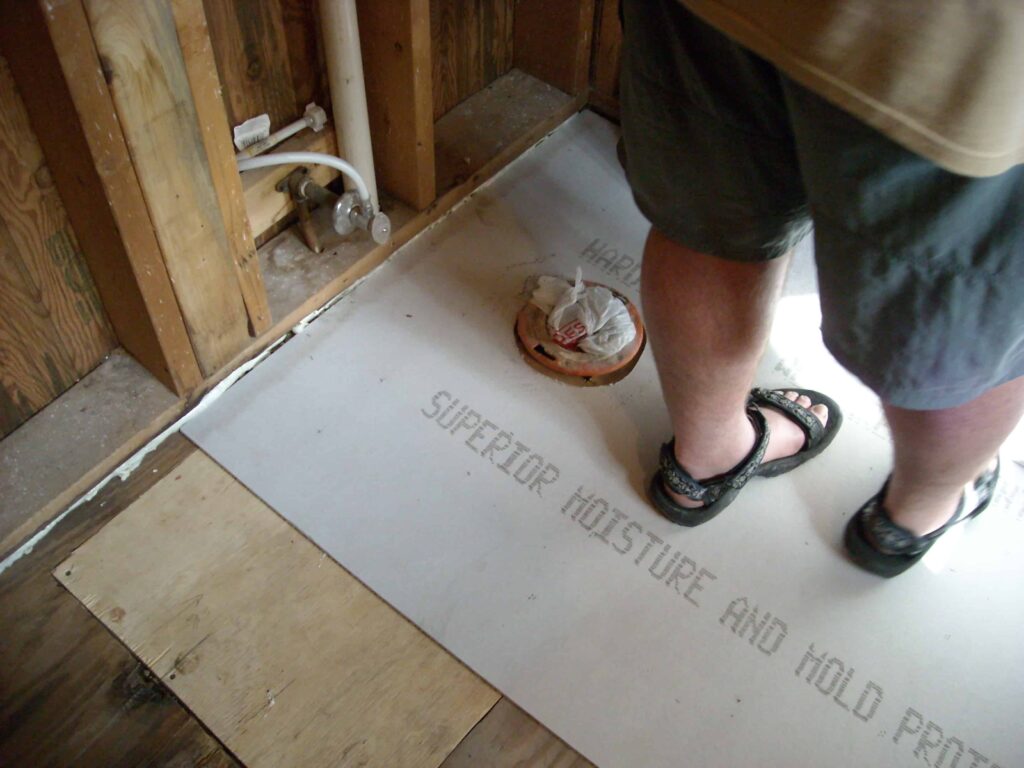
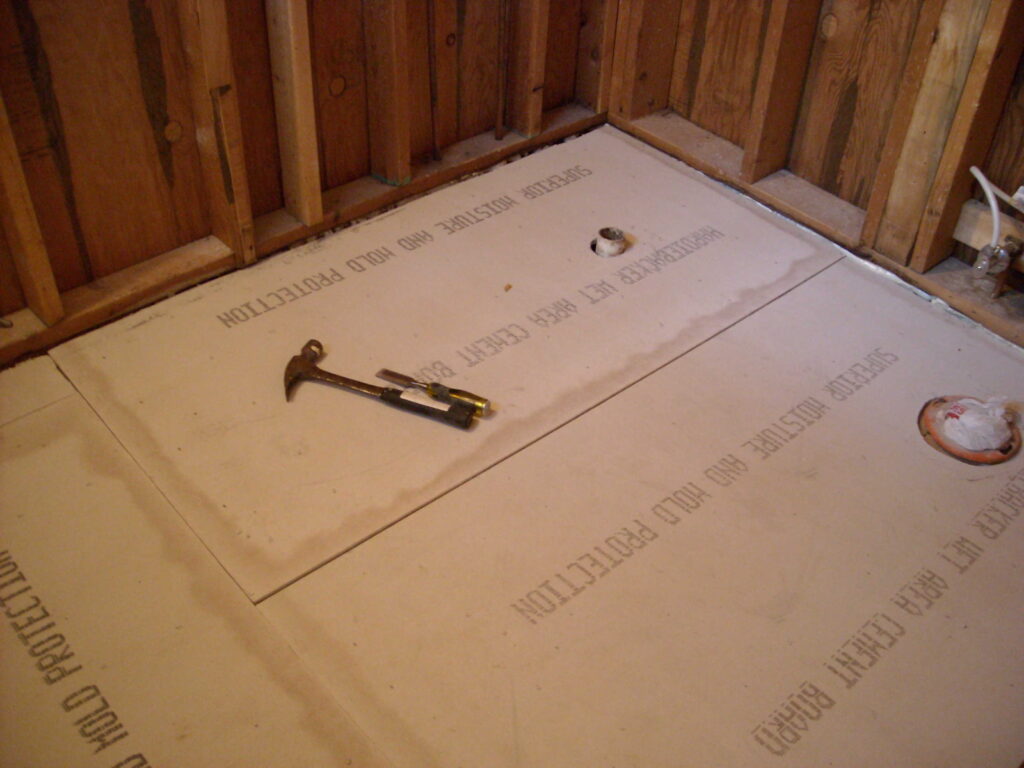
After the plywood subfloor came the fiber cement underlayment board (a very good idea in room's that will have regular water/moisture exposure):
And, that's the ceiling and the floors so far. How about you guys? Any of you worked with popcorn ceiling before?
How about putting in new floor joists or subfloors? Did you use fiber cement underlayment boards in your home? Tell me about it!


Leave a Reply