
[su_note note_color=”#ffffff”]// This is a sponsored conversation written by me on behalf of Cricut. The opinions and text are all mine. Comments submitted may be displayed on other websites owned by the sponsoring brand. //[/su_note]
Remember how bald Melanie was for like, EVER. Seriously she didn't start growing hair until she was three and a half!
It was so bad that she had never even worn hair elastics and headbands until a few months ago.
Cute Felt Floral Headband That I Made With My Cricut
And guess what? Now she LOOOVES them. So much so, that I could easily spend the annual state budget of Maine on just buying fun hair accessories.
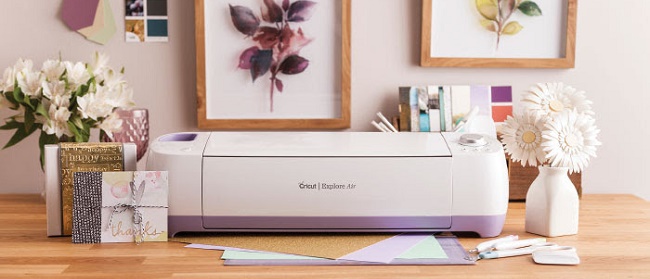
But, since I don't have that kind of dough, I figured out that I can use my trusty Cricut Explore Air and make my own.
Are you in the same boat?
Then here's a simple tutorial on how to create this cute felt floral headband that I made with my Cricut!

This project was SO easy to do and it took me less than ten minutes. Check out how I did it:
Supply List:
- Cricut Explore Air
- 3D Floral Home Decor Digital Download OR use this project
- Felt
- Iron-on Stabilizer (I used Heat ‘N Bond Ultra Hold)
- Iron
- Hot Glue Gun
- Wide Elastic
- Button
- Cricut StrongGrip Cutting Mat
- Cricut Deep Cut Blade
- Cricut Weeding Tool

Instructions:
Step One:
Use the iron to adhere the stabilizer to the felt. Place the paper side face up and gently press it to adhere while on medium-high heat.
After it cools, peel off the paper and place it so the shiny side of the felt is face down on your Cricut StrongGrip Cutting Mat.
Step Two:
Download and save the 3D Floral Home Decor Digital Download on to your computer and then upload them to Cricut Design Space:
- Log into Cricut Design Space.
- Select “Start a New Project”.
- Next, select “Insert Image”, located in the sidebar on the left.
- Select “Browse” and choose the image from your computer that you would like to upload into the Cricut Design Space.
- Select from the three options offered to indicate what type of image quality best matches the image you just uploaded. “Continue To Step 2”.
- Next, use the “Edit” option to resize your upload to the desired size.
- Next, you'll be asked to name your file. You also have the option to tag your image, which can help you find it later if you forget the file name. Click “Save Image”.
- Now, you'll be returned to the “Upload Images” screen. Your new image will appear in the “Uploaded Images Library”.
- Click on the image to add the image to your project. Big Fat Tip: A green check will appear, indicating it is selected.
- Click “Insert Images” to add your uploaded image to the design screen.
Step Three:
Select the Cut option in the Layers tab on the top right.
Step Four:
Turn the knob on your Cricut Explore Air to “Custom” > “Felt with Backing”.
Follow the directions on the package to install your Cricut Deep Cut Blade.
Step Five:
Load the Cricut Mat into the Cricut Explore Air and then press Go.
Step Six:
Watch the Cricut Explore Air cut out your uploaded image – it's SO AWESOME!
Step Seven:
Once the cutting is complete, remove the felt from the Cricut Mat.
Then use the Cricut Weeding Tool to peel the negative space pieces off your cut felt.
Step Eight:
Now, you'll use a hot glue gun to assemble your felt floral piece however you choose.
I did three petals layered on either side, offset the two petal pieces on top of each other, and added a button to the center.
Step Nine:
Use the hot glue gun to attach the assembled felt floral piece to a length of elastic.
Finish the headband by securing the ends with stitches, glue, or a knot.
Step Ten:
Enjoy!

Cricut Explore Air
I just love my Cricut Explore Air machine and all the amazing things I can do with it!
The first time I used it, I delighted that I didn't need to mess with owning individual cartridges for each of the designs.
I have limited space in my home so being able to access digital download versions of the designs in my Cricut Access Membership Plan is the best thing for me!
What will you make with yours? Be sure to share your Easter Cricut projects on social media tagging @OfficialCricut and #Cricut.


Phyrra Nyx says
This is such a cute headband for a little girl.
Lisa Marie Heath says
That is so adorable and your little girl is such a cutie pie
Chelsea says
I love it! She’s so cute.