
Christmas tiiiime is heeeereeee…
Where are my fellow Peanuts fans at?
The garlands and tree are going up and I'm busting out the carols, y'all!
For the first time in my life, almost all of my Christmas gifts are already purchased and wrapped. WHAT?!?!
SHUT UP, I KNOW.
Once again, we'll be sending a handful of gifts to our family in Texas and I'm doing them up BIG.
Create Custom Gift Tags with Cricut Maker: DIY Ornament Tutorial
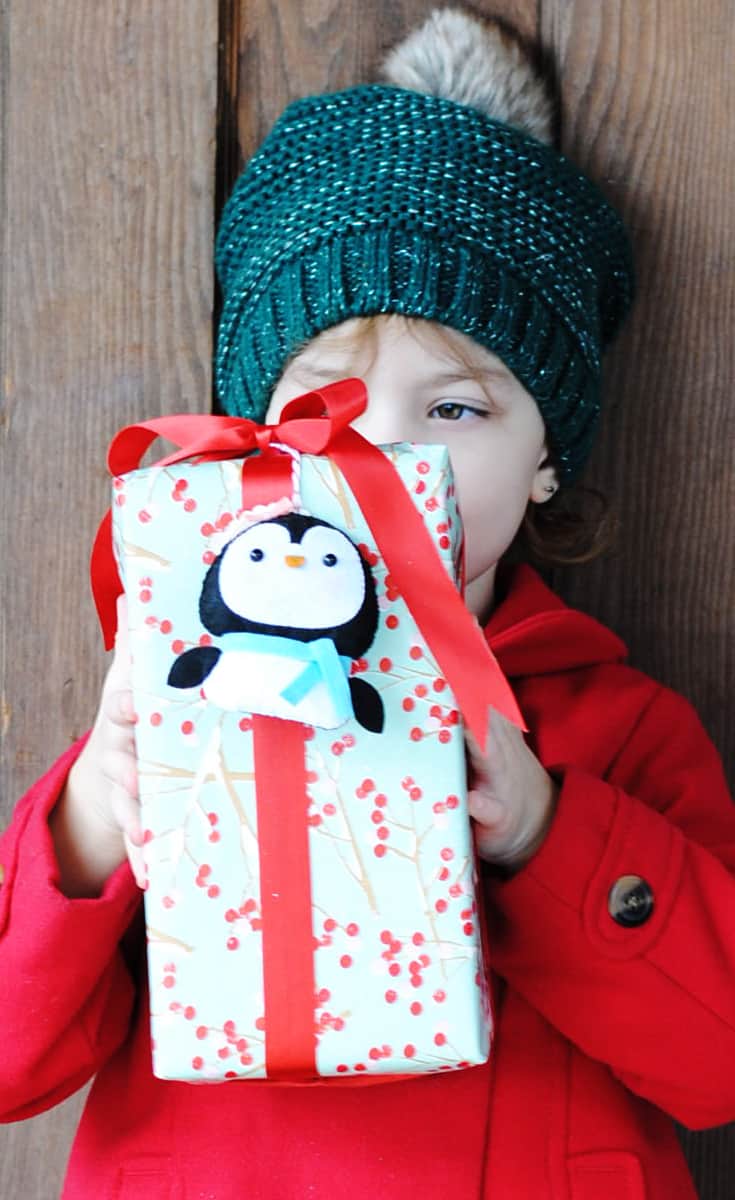
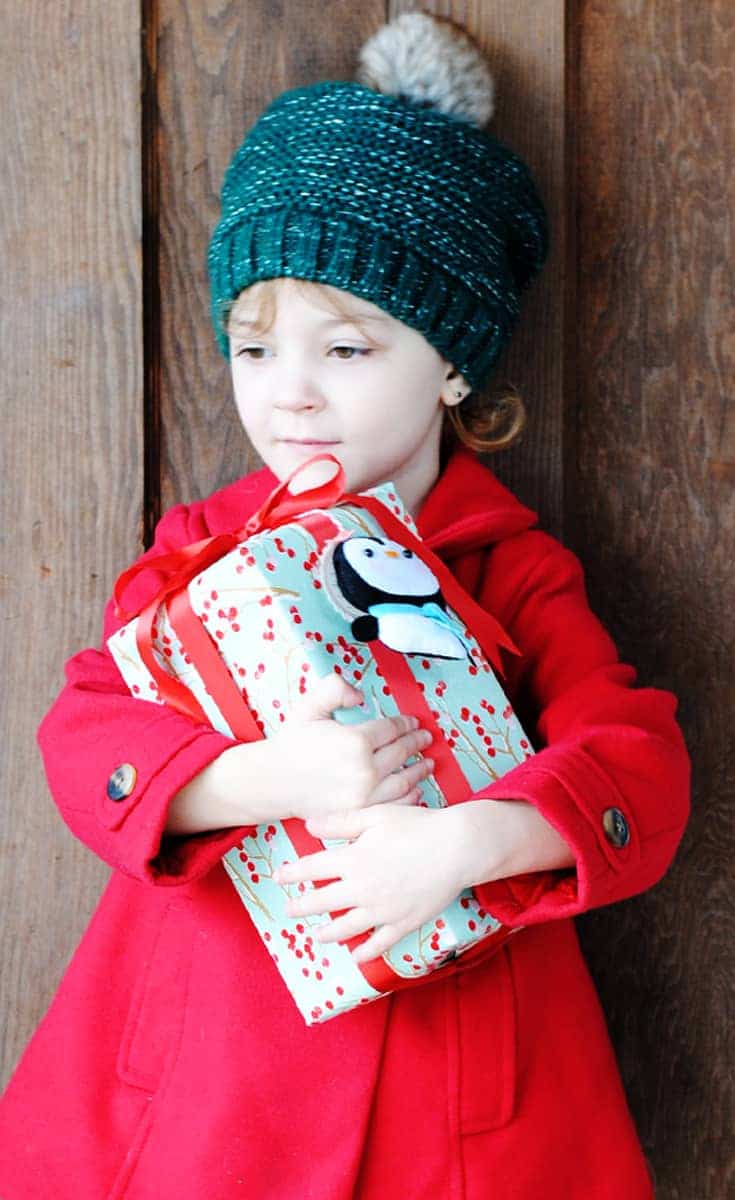
I bought the cutest aqua, green, and pink gift wrap at Target and just need some awesome gift tags to go with them.

// I may earn money from the companies mentioned in this post. //
Originally, I was going to cut something out of cardstock using my Cricut Maker but then, I saw these adorable felt ornaments and…
OMG!
I decided that I needed to make some so they could be on everyone's gifts this year!
Ornaments that double as gift tags?
Yes, please!!! If you'd like to try making your own felt ornaments/gift tags – here's the DIY tutorial.
Supplies:
- Cricut Maker
- White felt, 6″ x 3″ (face, and body)
- Dark grey felt, 8″ x 4″ (for head)
- Orange felt, 1″ x 1″ (for beak)
- Blue felt, 9″ x 1″ (scarf)
- Light blue felt, 2″ x 1″ (bow)
- Black felt, 5″ x 3″ (body, and arms)
- Cricut 12 x 24 FabricGrip Mat
- Washable Fabric Pen
- Fabric glue
- Thread
- 2oz. of polyester fiberfill
- 12mm safety eyes (2)
- Fabric scissors
- 3/8 yd. of baker's twine
- Colored pencil
- Blank paper tag
Tutorial:
Step #1:
In Cricut Design Space, follow the instructions to cut out your felt shapes.
Remember to use the fabric pen when prompted.
Step #2:
On the head, use the overcast stitch to join the face to the head along the broken line.
Step #3:
On the dots, adhere the safety eyes to the face and front.
Step #4:
Put the wrong sides together, match up the notches, and use a blanket stitch to attach the head front to the back.
Leave an opening at the notch.
Step #5:
Stuff with the polyester fiberfill and then close the notch with a blanket stitch.
Step #6:
Put the wrong sides together and use a blanket stitch to attach the body front to the body back.
Leave a small opening.
Step #7:
Stuff with the polyester fiberfill and then close the notch with a blanket stitch.
Step #8:
Use the fabric glue (or a few small tacking stitches) to attach the body to the head.
Step #9:
Use the fabric glue (or a few small tacking stitches) to attach the wings to the body.
Step #10:
Use the fabric glue to attach nose to the head along the solid line.
Step #11:
Use the scissors to cut along solid lines on the scarf (to make the fringe).
With the wrong sides together, tie the scarf in a loose knot at the neck's edge. Next, use the fabric glue to glue it along the neck's edge.
Step #12:
Make a bow and use the fabric glue to adhere it to the top of the head at the small dot.
Step #13:
Color in cheeks using a colored pencil.
Step #14:
Use a length of the baker's twine to make a hanger (i.e. a large loop) and attach to the top of the head using the fabric glue or a tacking stitch.
Before tying a knot in the hanger to close it, attach the paper tag with the gift information on it (i.e. “To:” “From:”).
Step #15:
ENJOY!


Leave a Reply